We Offer Our Hand Made Copper Shower Pans In 60″ L – 72″ L, 32″ W – 48″ W. Please Allow A Tolerance Of + / – 1/4″ For All Handmade Copper Products. All Images Are Copyrighted
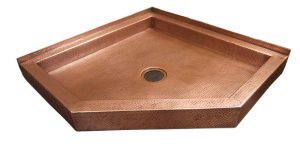
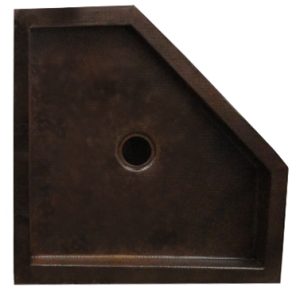
1″ H Tile Flange Added To (2) Sides. Neo Angle Pans Have (3) Finished Sides (With Apron Fronts) And (2) Unfinished Sides (Installed Against A Wall). No Drain Lines Added. Hand Hammered Finish. Old Penny Patina. Hand Hammered Finish.
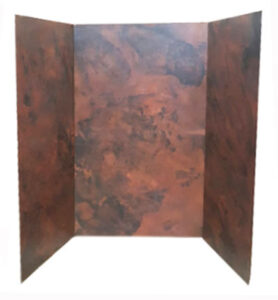
Create A Freestanding Neo Angle Shower Pan By Adding (5) Finished Sides. Makes For A Wonderful Outdoor Shower Pan.
Add A Single 1″ H Tile Flange To Your Copper Shower Pan. Choose How Many Sides Of The Pan To Be Finished. Tile Flanges Are Welded To The Pan And Help Keep Water From Running Out Of The Pan While Showering. Adding A 1″ H Tile Flange Is Not Necessary, But It A Nice Add On Option.
You Can Build Your Copper Tile Flange To Any Height. Generally Our Tile Flanges Are 1″-2″ High. It’s Up to You.
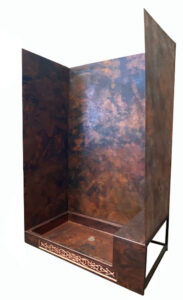
Add A Double Flange To Your Copper Shower Pan When Adding A Copper Or Glass Wall. The Double Flange Will Set The Wall In Place On The Top Rim, Plus Stop Water From Running Out Of The Pan While Showering. The Double Flange Does Not Hold The Wall In Place. The Wall Must Be Anchored Securely To The Bathroom Wall, Ceiling Or Side Wall If The Glass Wall Is Freestanding.
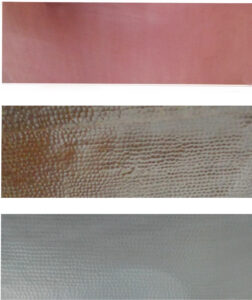
OPT #2 Choose From (3) Different Surface Texture Finishes To Create Your Copper Shower Pan.
All (3) Finishes Work Well On Copper Shower Pans.
Top Finish: Old World Smooth (Shown In New Penny)
Middle Finish: Hand Hammered (Shown In Coffee)
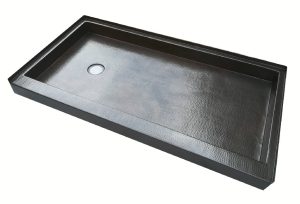
Bottom Finish: Smooth (Light) Hand Hammered (Shown In Nickel Plated).
No Matter What Surface Texture Finish You Choose, Your Copper Pan Will Turn Out Beautifully.
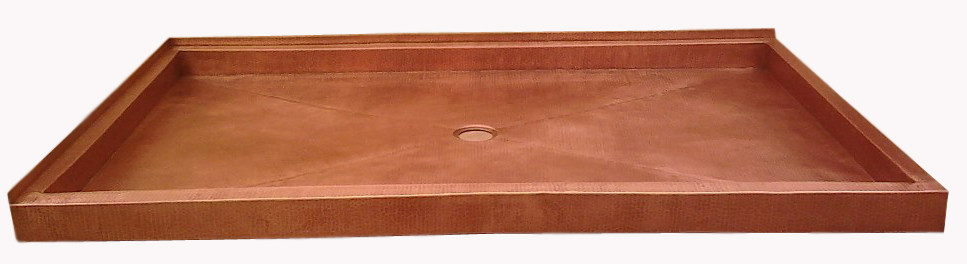
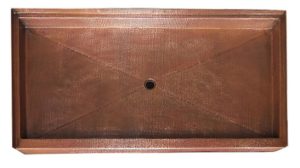
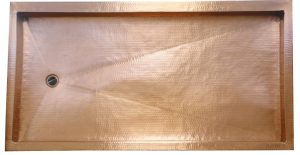
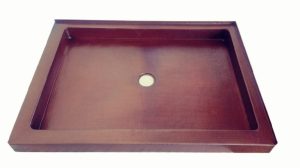
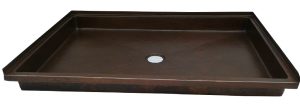
Copper Rectangle Shower Pan. Built With 2″ Top Rims On All (4) Sides. End Drain With X Drain Lines Added. Golden Bronze Patina In Hand Hammered Surface Texture Finish.
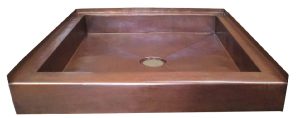
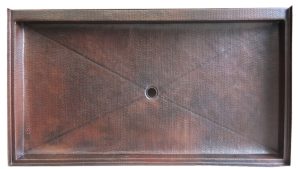
Copper Square Shower Pan: (3) 1″ H Tile Flanges Added To Three Sides. One Finished Side With Apron. Center Drain Hole Drilled. X Drain Lines Added. Coffee Patina In Hand Hammered Surface Texture Finish.
Option #4 Choose Style Of Pan
Choose From A Rectangle, Neo Angle Or Square Copper Shower Pan. Add A Flange For Ease Of Installation. We Custom Build To Suit Your Requirements. View Copper Shower Pan Pricing
Square Copper Pans
(1-4) Finished Apron Sides
Rectangle Copper Pans
(1-4) Finished Apron Sides
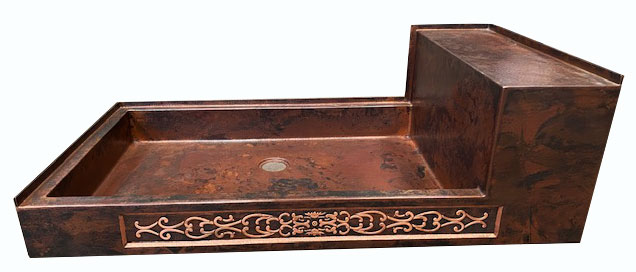
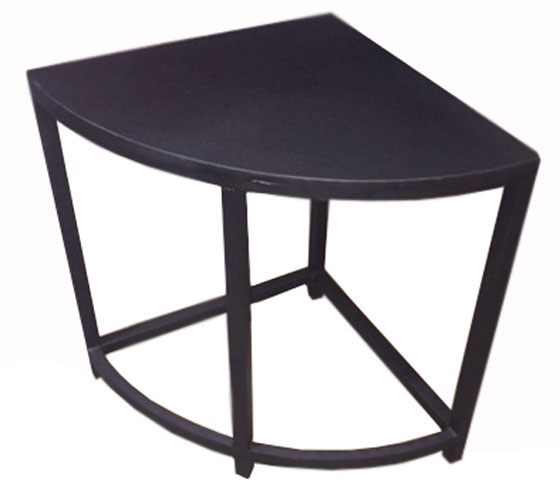
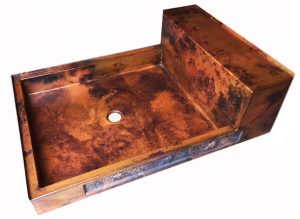
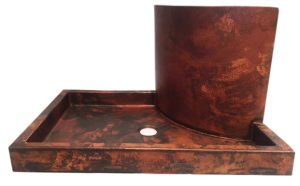
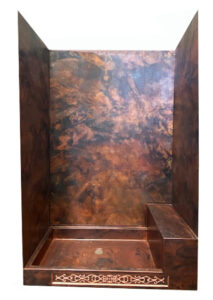
Copper Pans With Bench Seats (LH Or RH Location)
Metal Corner Seat. Slides In Under Pan For Structural Integrity.
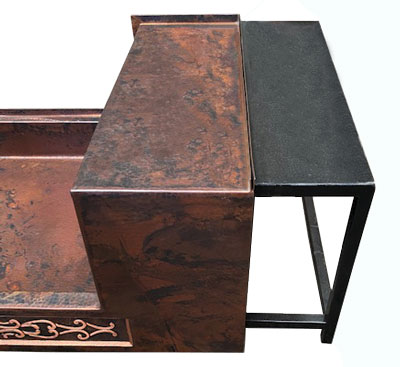
CSP With Bench Metal Seat. Install With Metal Support Frame Sitting Firmly On The Floor.
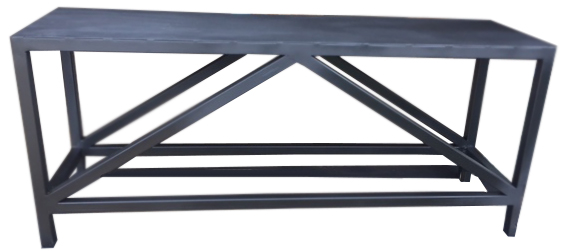
Metal Bench Seat. All CSP’s Use A Custom Metal Bench Seat For Structural Strength. Do Not Modify The Support Frame.
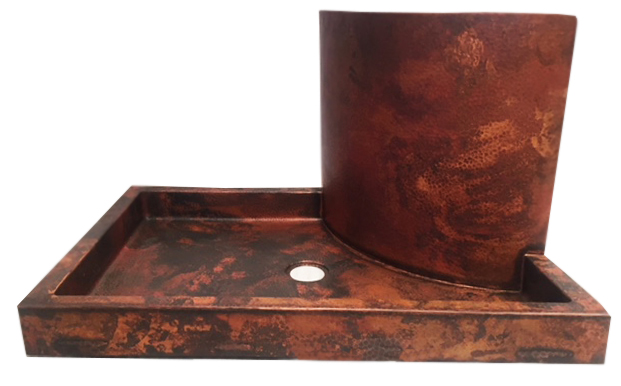
CSP Rounded Corner Seat. Support Frame Easily Slides Under The Copper Seat.
Metal Corner Seat. Slides In Under Pan For Structural Integrity.
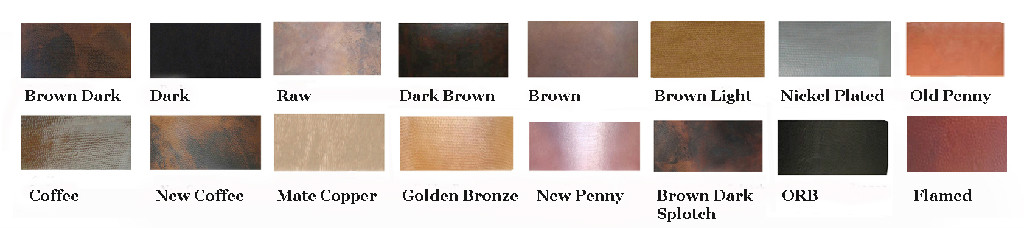
Option #5 Patina Selection
Choose From (16) Patina Finishes For Your Copper Shower Pan. Below You Will Find Products Built In The Different Patina Finishes For You To Review.
Patina Finishes Available: Golden Bronze; Dark; Dark Brown; Brown; Old Penny, New Penny, Coffee, New Coffee, Nickel Plated, Raw Copper, Flamed, Brown-Dark Splotch, Dark-Brown Splotch. We Offer The Largest Selection Of Patina Finishes Available.
Examples Of Copper Shower Pans Made In Our Custom Patina Finishes
Coffee Patina
Brown Patina
Dark Brown Patina
Brown Dark Patina
Golden Bronze Patina
Old Penny Patina
Dark Patina
New Penny Patina
Flamed Patina
New Coffee Patina
Raw Copper Patina
View More Photographs Of Our Copper Shower Pan Patinas
Choose The Width For The Top (4) Rim Of Your Copper Shower Pan. If You Are Installing A Glass Block, You May Need A Widder Top Rim. Standard 2″ W Top Rims Or A Custom 3″ W Top Rim Available.
Option #7 Drain Hole Size And Location
3 1/2″ D Drain Hole Is Standard. Choose A Center Drain For Your Copper Pan Or A LH Side End Drain (Centered) Or A RH Side End Drain (Centered).
When Installing Your Pan, Use A Wood Frame For Support Underneath The Top Rims. Build Just As You Would For A Drop In Bath Tub. The Bottom Of The Pan Must Sit Firmly On The Floor With The Top Rims Just Resting On The Wood Frame. Copper Shower Pans Install The Same Way You Would An Acrylic Pan. Just Make Sure That Nothing Touches The Copper Patina, Which Is A Living Patina Finish. Support Metal Frames For Bench Seats Must Install Firmly On The Floor For Structural Integrity Of The Bench Seat.
Line Drawings Provided With Each Copper Pan So That You Can Verify The Overall Design Will Work In Your Installation Area.
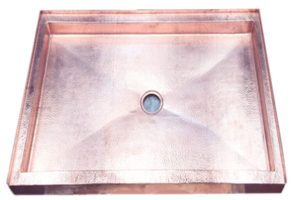
This Is A “Finished Side”. You May Choose Between (1) Finished Side Up To (4) Finished Sides. Brown Patina Finish.
Option #8 Finished And Unfinished Sides
The Side Of The Pan That Will Be Exposed To The Room, Should Have A Finished Side (3.5″ H Apron Added). Sides That Are Up Against A Wall And Are Not Seen, Are “Unfinished Sides” And Do Not Have An Apron Added. Freestanding Pans, Have (4) Finished Sides.